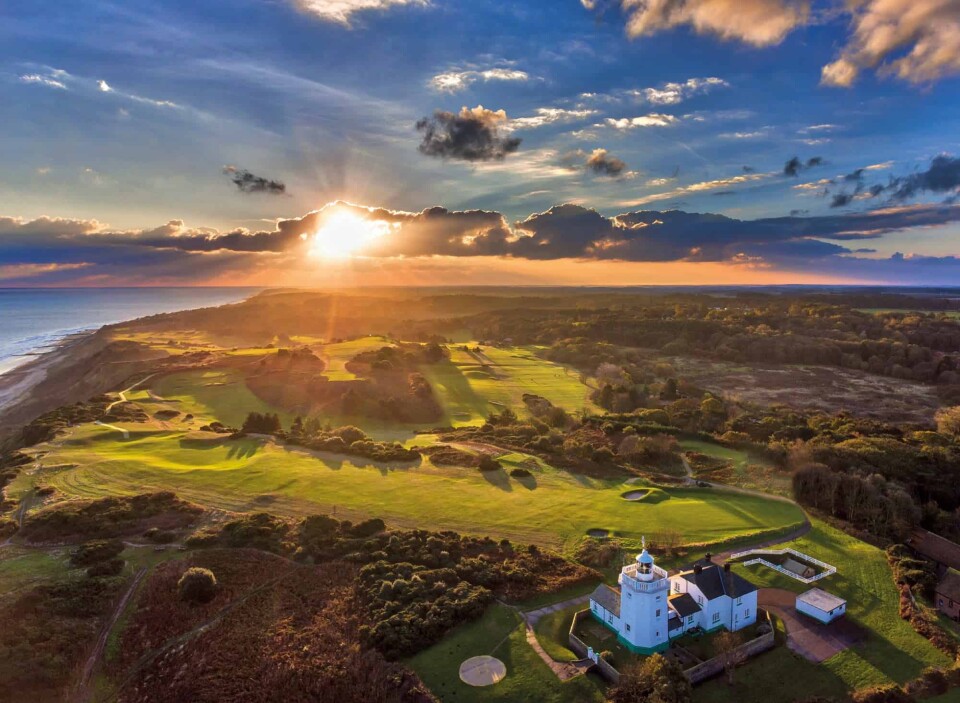
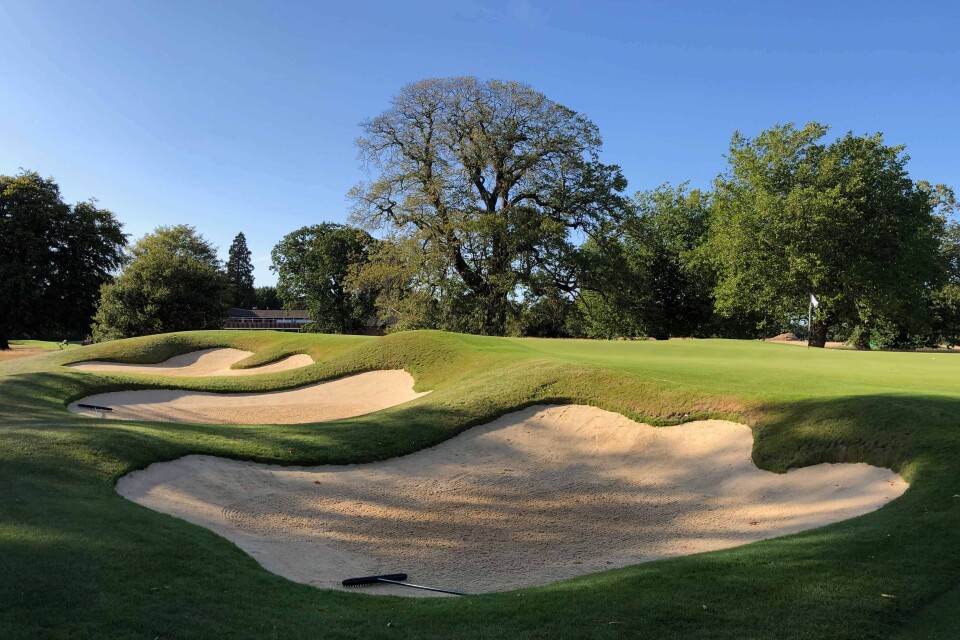
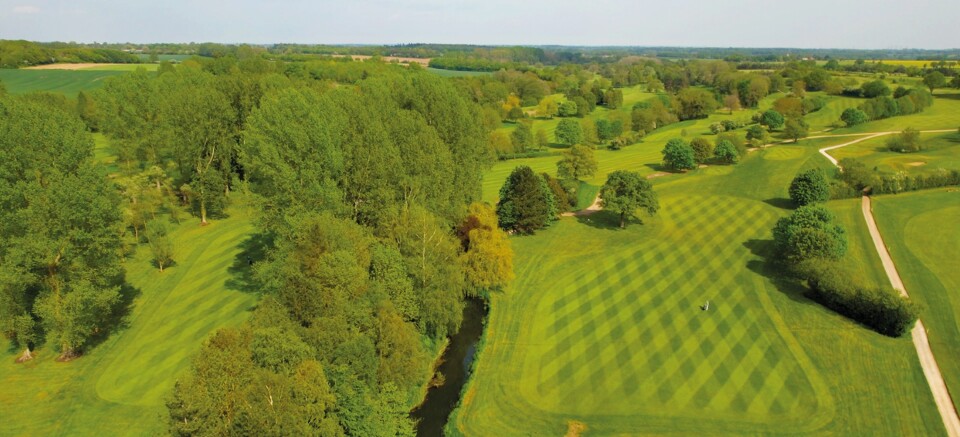
Sheringham is a cliff-top course laid out on the west side of the town on a strip of rolling, gorse-clad clifftop that lies between the preserved North Norfolk Railway and the North Sea. Generally open from the tee, you will rarely play here without a sporting sea breeze and the par of 70 is not a generous one. Off the tips, Sheringham plays to a yardage of more than 6,500 but that can be brought down to 5,660 for the Yellows.
The first couple of holes are inland from the coastline, with the opening hole being a very gentle start to your round. At only 324 yards, some might even try and take the green on. For most, a lay up to the right distance on this generous fairway gives a great opportunity for birdie on 1. The 2nd is the first of the two par 5s at Sheringham, and at 544 yards, it will be a three-shotter for most. Four bunkers dotted down the left side of the fairway, along with the clubhouse on the right, is the trouble on the 2nd. 3 takes you along the coastline for the first time, as you reach a tough stretch of holes. At 425 yards from the tips, it requires two good strikes to find the putting surface. Although just 320 yards, the 4th is almost as tough, with the green guarded by three bunkers and gorse.
Stroke Index 1 comes at the 5th. You drive across a ravine towards the sea on this 455-yard par 4, before turning left to play to a large, flat green on a shelf. The view from the tee is memorable indeed. The 6th is the opening par 3 at Sheringham but it is tough at 210 yards. Although there is only one bunker to the right of the green, the distance is the biggest issue here. 7 is the last par 5, and the longest hole on the course at 550 yards from the tips. Played entirely along the coast, and with the North Sea on your right, there is a wide fairway to have a proper thrash with your driver. If you avoid the fairway bunkers, there is a chance of making it to the green with your second, especially with the wind in your favour.
You make your way back inland around the turn, starting with the par 3 8th. Four greenside bunkers protect the surface. The final hole on the front nine is a dog-leg right par 4. Although it is more than 400 yards in length, the fairway is generous, so you’ve got the space to try and get the tee shot as far up there as possible. The 10th is the first of four long par 4s on the back nine, and the longest 4 on the card. At 468 yards, some will have to play this as a three-shotter, though there is space to run something up to the green with a long iron or fairway wood. The shortest hole on the course comes at 11, with this par 3 being less than 160 yards. It is played to a large green, but it is one that has five bunkers guarding it, along with a large gorse bush behind the surface.
12 and 13 are both dog-leg par 4s. The former moves to the right, while the latter goes to the left. Despite being just 347 yards, it is the Stroke Index 4. That’s due to the sloping fairway and the narrow green, among other trouble you might find. If you can avoid the cross bunkers on the fairway at 14, then it could muster up a birdie opportunity, while the 15th is the last short hole at Sheringham. At 192 yards from the tips, it might require a long iron or even hybrid, but there is a large putting surface to aim at, one guarded by four small sand traps.
The closing stretch begins at 16, as you play alongside the railway line, which runs down the right side. At 342 yards, the 16th shouldn’t be too difficult, but it is all about placement from the tee. Watch out for the 17th, another of Sheringham’s celebrated long par 4s. Here the railway line is very much in play on the right while gorse awaits those who over-compensate. A raised green means only the best approaches will climb on to the putting surface. The closing hole is somewhat similar, turning slightly right to follow the train line. The gorse has dissipated by this point though, so the fairway is wide. Find it, and you have a chance at birdie on the last.