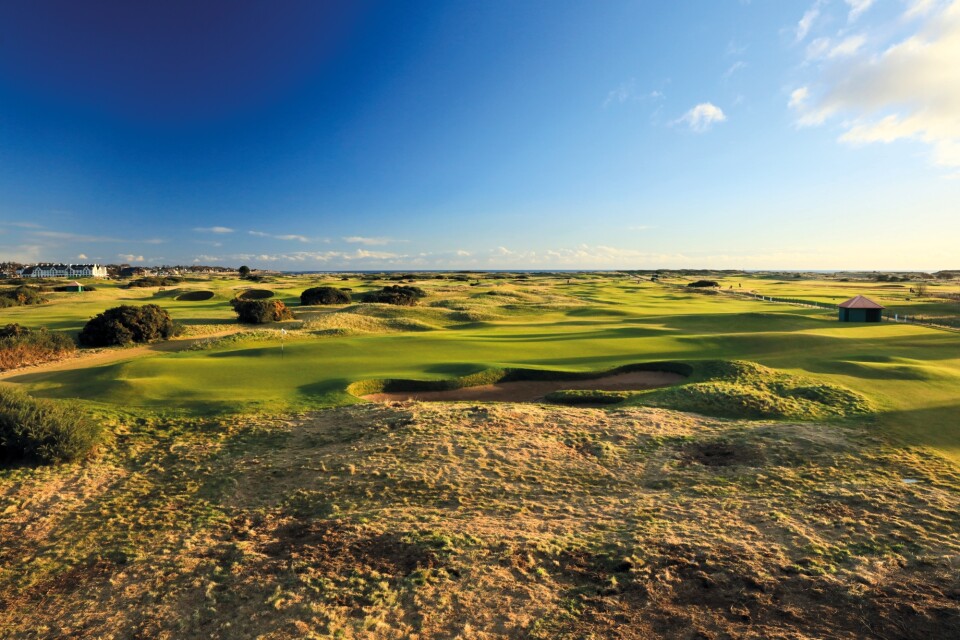
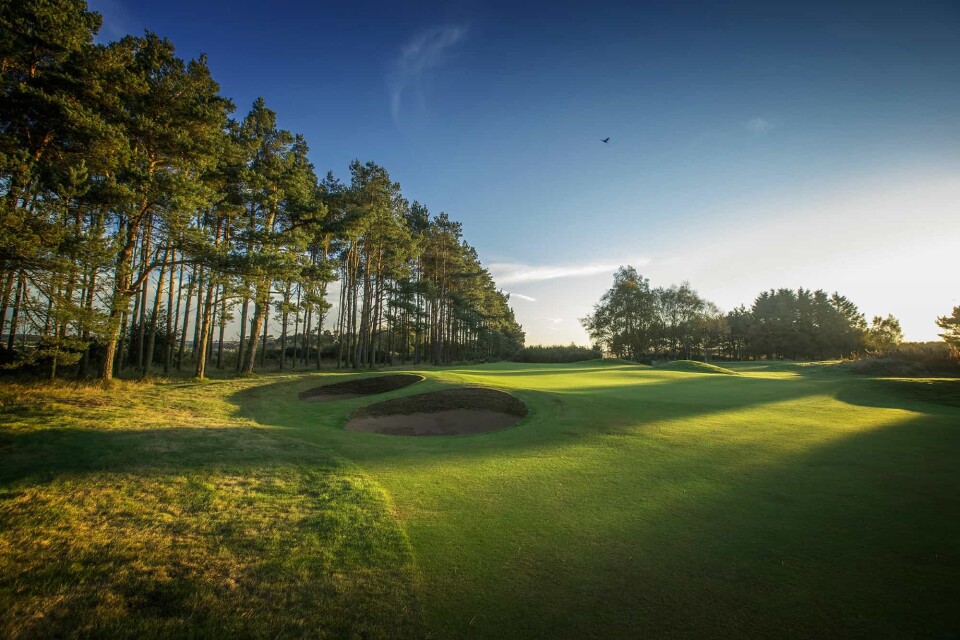
The Burnside Course is the secondary course at Carnoustie Golf Links, and although much shorter than its bigger, and more well-known sibling, it still packs a punch. Even off the back tees, it is not long. The Burnside Course maxes out at just shy of 6,000 yards, but this par 68 layout will test every aspect of your game, especially to score well! The quintet of par 3s have incredible character, and offer up different challenges.
The opening trio of holes on the Burnside Course play alongside the railway line on the northern boundary of the property. The 1st is only 320 yards, and offers up a gentle start to proceedings. Avoid to the two pot bunkers on the right side of this par 4, and you’re in with a good shout of making birdie! The 2nd and 4th are two of the three par 4s on the course to be of more than 450 yards. The former has three fairway bunkers to avoid, while the green sits right by the boundary of the railway line. The tee shot on 4 plays over the infamous Barry Burn (which will come into play more later on). There is OOB on the right side, due to the greenkeeping buildings, so if you are going to miss, miss left. The green is quite open, with plenty of ways to get your ball on to the surface.
3 and 5 are the opening two par 3s on the Burnside. The 3rd plays over the Barry Burn and a bunker, which sits in front of the surface. The railway line is on your right, while trees behind and sand left are the other dangers to avoid. The Barry Bun is much more in play on the 5th. Left is the only dry side on this green, as the water hazard winds its way around the front, right and then back of the surface. It is 160 yards from the tips, and club selection is crucial. The 6th is a good dog-leg right par 4, one of 335 yards. Anything left is in trouble, but there are also three fairway bunkers down the right to avoid. Two more traps sit in front of the green, which is long and sits on an angle from the fairway.
The 7th turns the other way slightly, and although there is no sand, water or trees in play off the tee, the fairway is rather narrow. The green is protected by two pot bunkers, but with a good tee shot, this is a scoring opportunity. 8 is a long par 4. At 425 yards, it requires a long and accurate drive. Four traps are down by the green, which has the putting surface of the 11th behind it. The 9th is the middle of the five par 3s on the course, and it is not the easiest. A bunker on either side of the small putting surface makes it more difficult than it looks on the scorecard.
The back nine opens with a quartet of sub-400-yard par 4s. 10 is the shortest of those at 330 yards. No sand, and arrow straight, this is one where anything worse than a par will really feel like a bad score. Three fairway bunkers are in play on the 11th, and the green is long, but there is no real trouble by the surface. Again, a good scoring chance. 12 and 13 run parallel to each other, and both are around the 380-yard mark. The 12th green is one of the more unique on the course, sitting in a V-shape, as gorse cuts in to the back centre. Aim for the middle so you can putt to either side. Two fairway traps on the right of 13 are the danger off the tee, while there is also a pot bunker to the front left of the green.
A tricky closing stretch begins with the par 3 14th. It is not often you will see a par 3 with the Stroke Index 1, but that’s what you get with 14 on the Burnside. It is the longest of the 3s on the course, at almost 230 yards from the tips, and it is played to one of the smallest greens. A par here will feel like a birdie. The 15th is the only par 5 on the layout, but it is not long. 490 yards in length, this is possibly the last scoring opportunity on the course, so take advantage! 16 is the last of the short holes, and at 150 yards, it is the smallest on the course. There are no bunkers, but the green is quite large, so finding the right portion is key to not three-putting.
The longest of the par 4s comes at the penultimate hole on the Burnside. It earns the Stroke Index 3 because it also features the dastardly Barry Burn. The first question off the tee is whether you can cross the burn with your drive. If not, you’re laying up short of it. If you can, then watch out as the Barry Burn then winds its way down the right side of the hole, before then cutting back across in front of the green. Some will have to play 17 as a three-shotter thanks to the water. The closing hole is only 303 yards, but again, the Barry Burn is in play for any tee shots that are flailed out to the right. Four bunkers guard the green, so even coming in with a wedge is not the easiest prospect.